
When you’re young, some skills seem cloaked in mystery, like sorcery reserved for geniuses and tech wizards. Building a computer? That was right up there with rocket science and brain surgery. I assumed there were secrets mere mortals like me weren’t meant to know.
But life has a funny way of pushing you toward the very things you once swore you couldn’t do. You can either jump in feet first and learn to swim, or wait for the tide to rise and drag you under anyway. Either way, you’re getting wet.
And so, in my mid-twenties, I found myself staring down yet another failing laptop. It wheezed, groaned, and crashed under the weight of programs it could no longer handle. I was broke, still living with my parents, and drowning in student loans. The idea of dropping another few hundred dollars on a “cheap” computer that would die in two years made me want to scream into a pillow.
Alright, maybe I’m being a little dramatic, but that’s what you’re here for, isn’t it?
Anyway, I was ranting to my boyfriend about how all laptops were secretly designed to self-destruct after the warranty expired, when he calmly suggested, “Why don’t you just build your own computer?”
I blinked. Me? Build a computer? Was he crazy? He did remember who he was talking to right?
Computers, to me, were mysterious boxes powered by tiny gremlins and questionable magic. I had no idea what lived inside those metal cases, chips, cards, wires, possibly dark energy? I was convinced it was all beyond my comprehension or at the very least too expensive for me to fail at. No, the safe bet was just leave it to the experts.
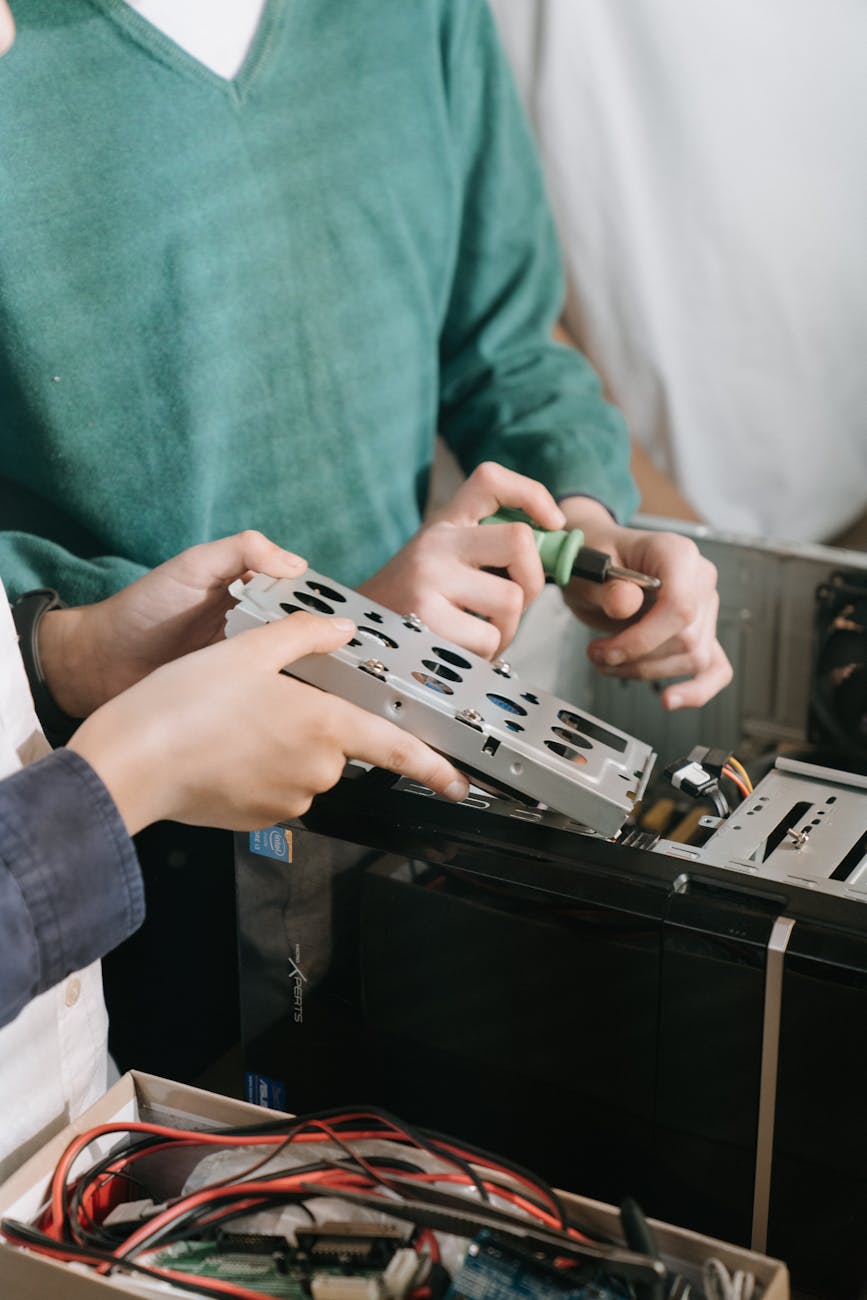
But my boyfriend reassured me that he’d done it before and that he’d teach me. And that, to me, made all the difference. I’ve always appreciated people who say, “Let’s do this together,” not “Let me just do it for you.” He believed I could do it and all I needed was a little guidance.
It turns out, building a computer isn’t mystical at all, it’s basically adult LEGO. Or, if you prefer, a high-stakes IKEA project without the Allen wrench and with slightly more terrifying price tags.
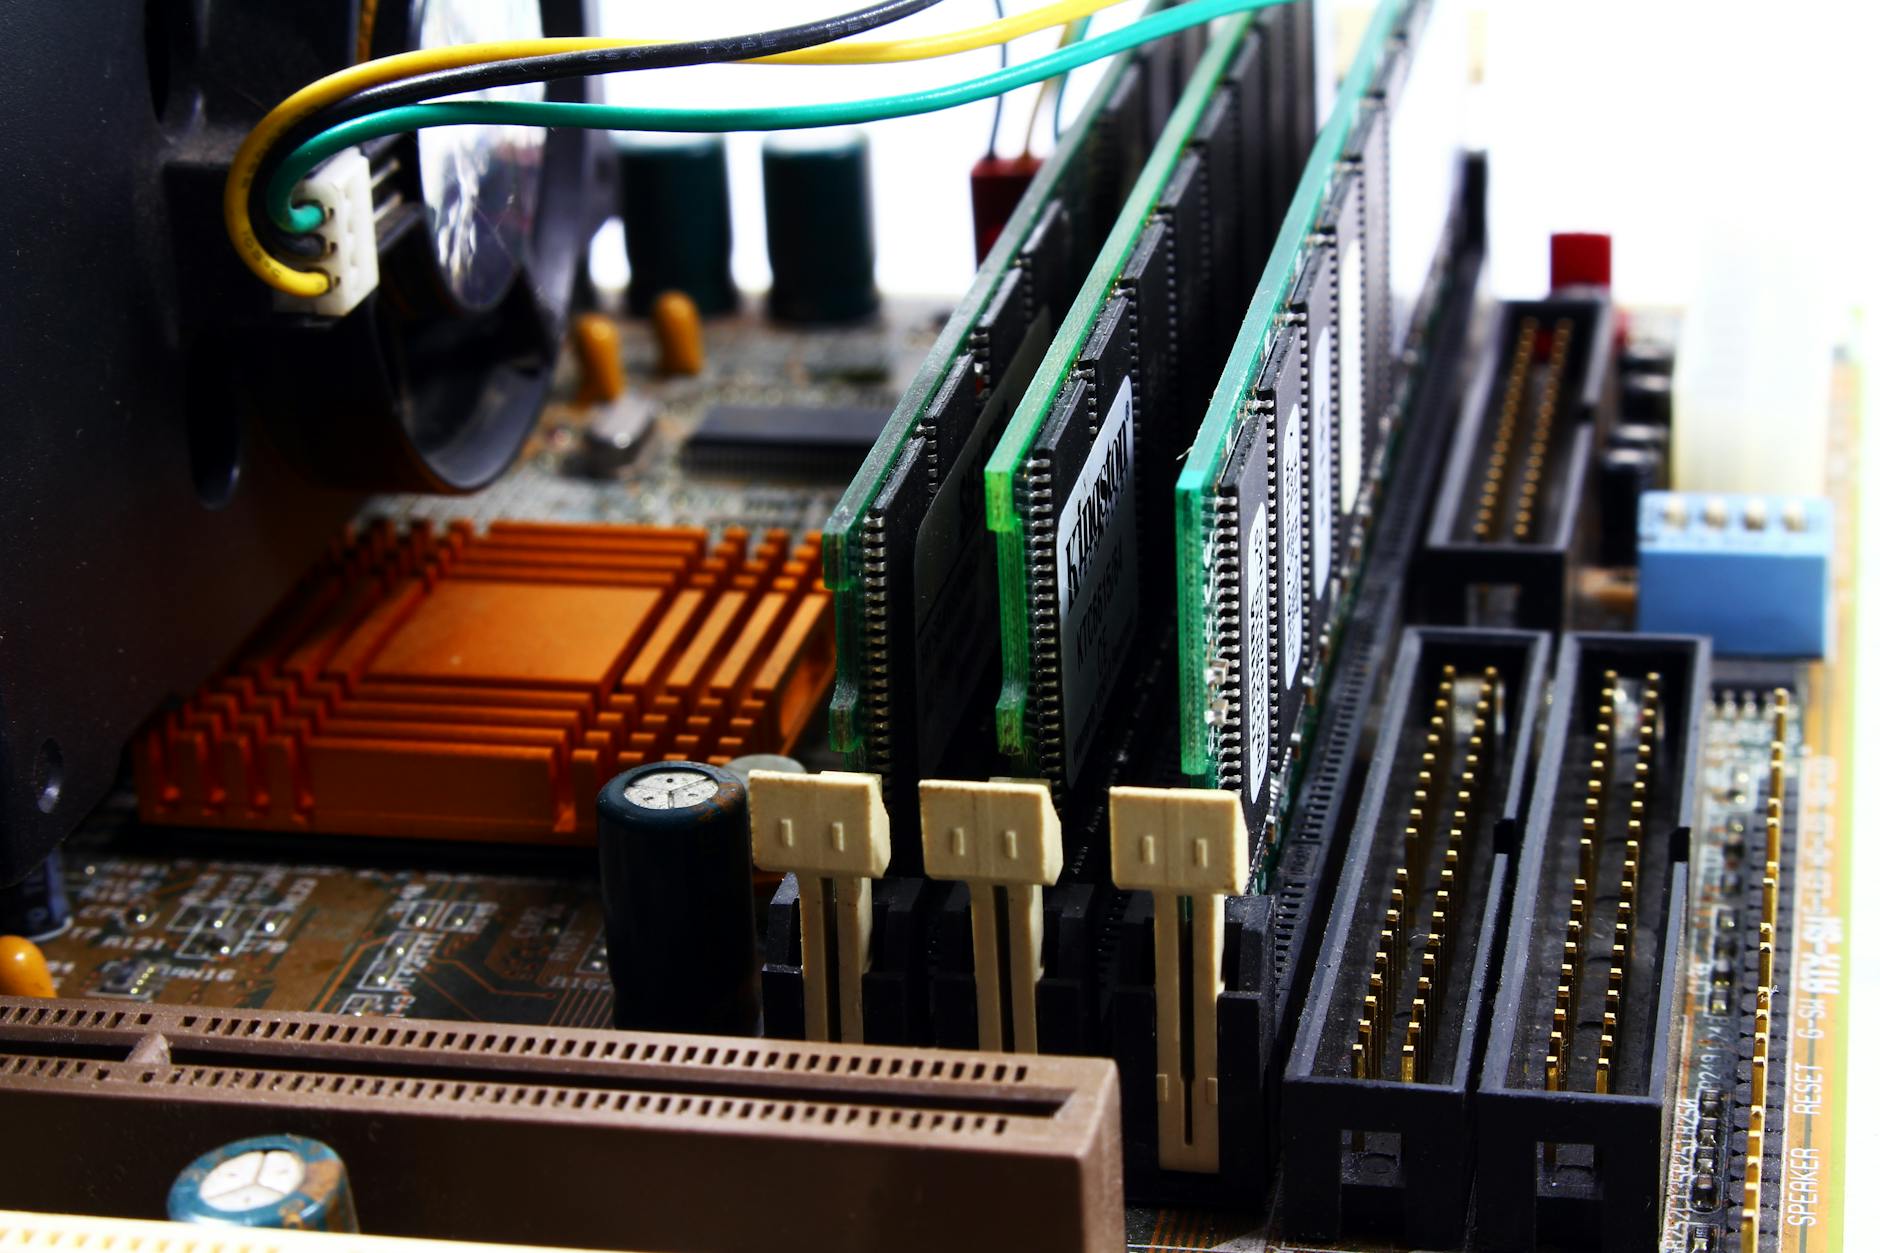
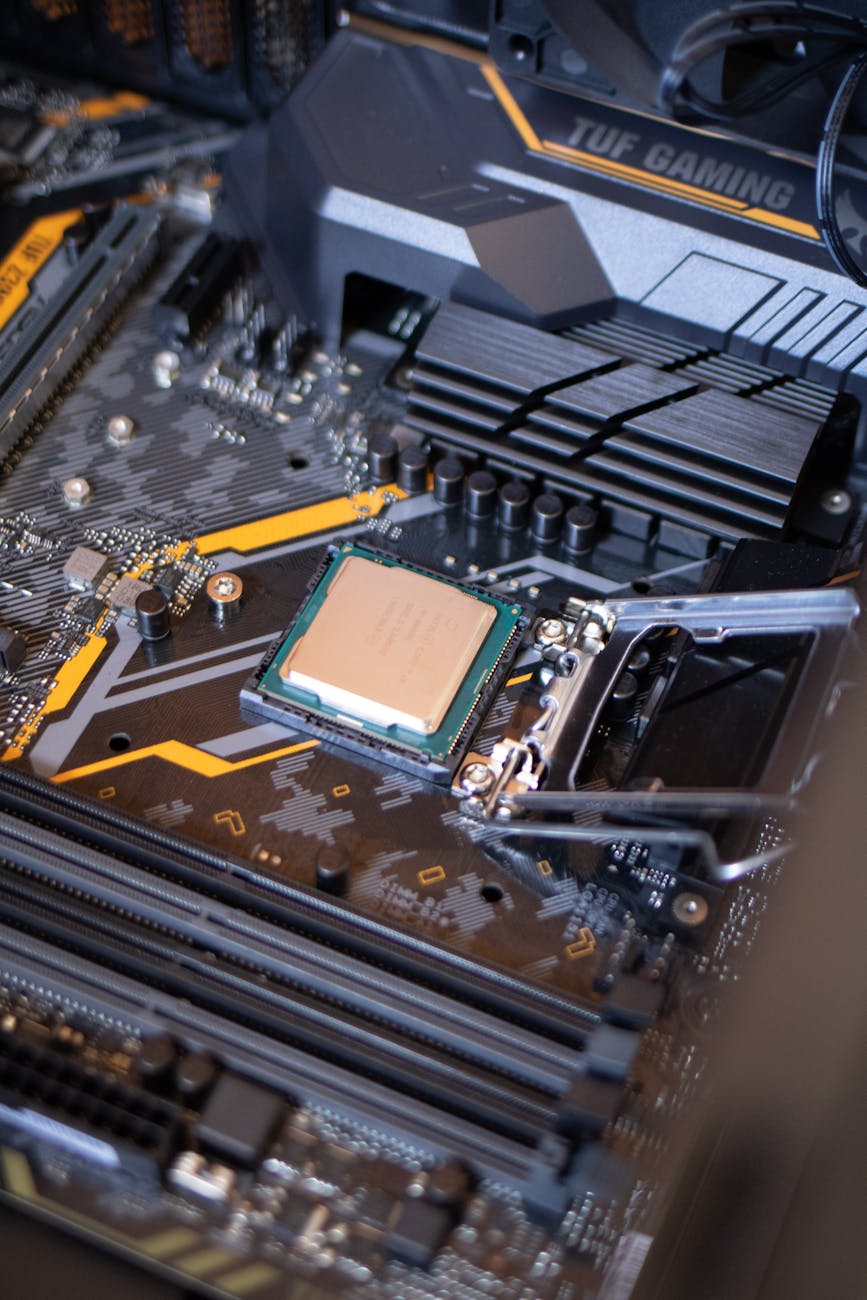
Once you know which parts fit together (the motherboard and CPU have to be compatible, for instance), the rest is pretty much plug-and-play. We picked out the parts piece by piece: RAM, graphics card, hard drive, case, power supply. He explained what everything did, how much power I’d need, and why I shouldn’t cheap out on cooling fans unless I enjoyed the smell of burning plastic.
Assembly was surprisingly satisfying. The motherboard, that flat green city of circuits, practically tells you where each piece goes. Most parts only fit in one spot, it’s almost foolproof. The trickiest part? Making sure every last cord is plugged in correctly. There’s always one that likes to hide and sometimes cords don’t quite reach so you have to get a different one.
Once it was all together, we booted it up with an operating system on a USB drive (a step up from the “CD-ROM” era). The screen flickered to life, and, voilà, my very own computer.
That was over fifteen years ago.

I’ve only had to swap out a few parts since, upgrading the graphics card here, adding a new hard drive there. Instead of throwing down thousands on a brand-new computer every few years, I get to be strategic and invest in pieces that will last. If one piece gets old or outdated, I replace just that piece. It’s like car maintenance, but less greasy.
My first build cost me about $1,000, spread out over a few months of saving, but it’s still running strong. Not bad for something I once thought required a degree in wizardry.
But the best part wasn’t the computer, it was what it did for me.
That project shifted something in my mindset. It made me question how many other things I’d written off as “too complicated.” Since then, I’ve built a shed, laid a patio, and even tried to fix my washing machine (it almost worked, turns out the part required more muscle than I had).
Now, I don’t rush to say, “I can’t.” Instead, I ask, “How hard could it be?”
It’s not about proving I “don’t need no man”, it’s about proving to myself that I’m capable. Because the truth is, most obstacles aren’t out there in the world; they’re in our heads. Once you push past that mental block, confidence grows like compounding interest.
And if it all goes sideways? Well, at least you’ll have a good story, and probably a few extra screws. Okay, in my case, a lot of extra screws.
Ready to Try It Yourself?
If you’ve ever thought, “I could never build a computer,” consider this your sign. Start by watching a few YouTube tutorials, read a build guide on PCPartPicker, and pick components that match your budget and goals.
It might take patience (and maybe a few deep breaths when cables don’t click in right), but when that screen finally flickers to life, you’ll feel like you just performed magic—minus the wand.
And if all else fails? You’ll still have learned more about how your tech works than 90% of people ever do. Plus, you’ll gain something far more valuable than a PC: proof that you can tackle things that once terrified you.
Because sometimes, the best way to build confidence… is to literally build something.
What You Need
- Case – The shell that holds everything together.
- Motherboard – The “main board” that connects all components.
- CPU (Processor) – The brain of the operation
- RAM – The short-term memory; helps your computer multitask.
- Storage – SSD or HDD, where all your files live.
- Power Supply (PSU) – Feeds electricity to every component.
- Graphics Card (GPU) – Optional, but crucial for gaming or design work.
- Cooling System – Fans or liquid cooling to keep things chill.
completed: 2010
cost: About $1000 (has saved me at least that much in replacement costs over a 15 year lifespan)
miles from home: 0
wanna check out some of my other bucket list items? Check out my Bucket List and My Reverse Bucket List