Have you ever really looked at a piece of glass?
Not through it. Not as a window or a drinking glass or the screen you are likely reading this on. I mean truly looked at it.
Hold it up to the light and watch it catch the sun. Run your fingers across its perfectly smooth surface. Notice how something so rigid can seem almost fluid, bending and reflecting the world around it. It is such a common part of our daily lives that we rarely stop to consider what a marvel it truly is.
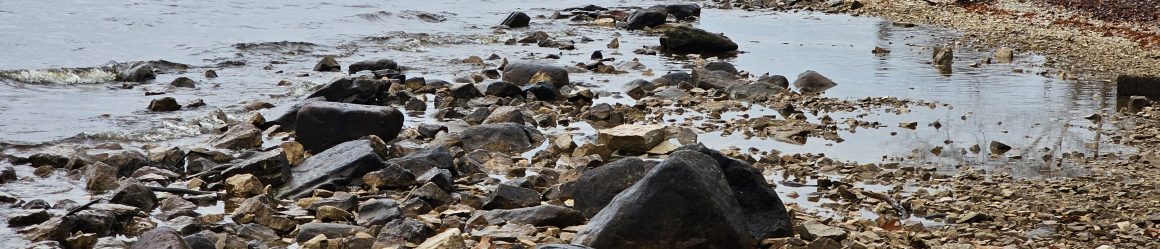
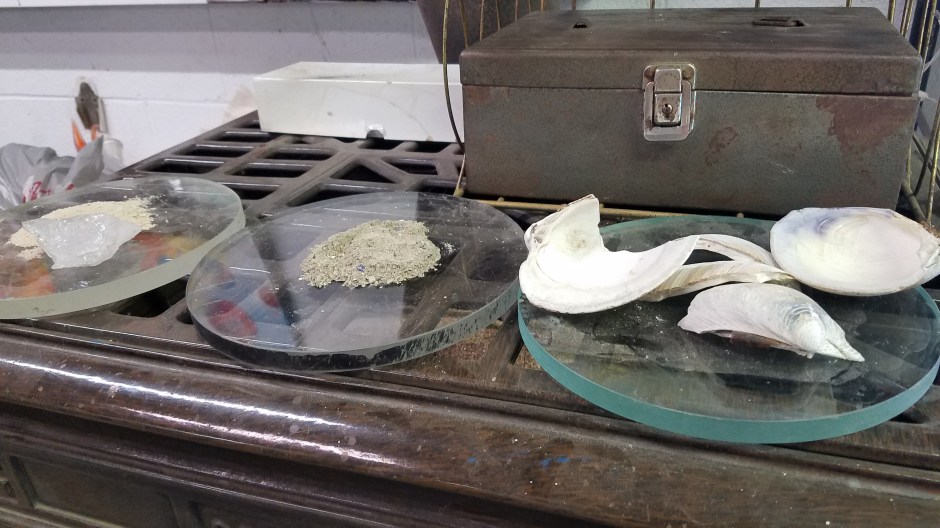
After all, who looks at sand and imagines it becoming something so beautiful? Pick up a handful and let it run through your fingers. Feel the grit against your skin. It seems impossible that the same material could one day become a crystal-clear vase, a stained-glass window, or the screen of a smartphone. Yet mix it with soda ash—not the kind you drink—and limestone, heat it to thousands of degrees, and transformation occurs.
Perhaps that is why glass has always seemed a little magical to me.
I grew up attending the Renaissance Faire and was familiar with the art of glassmaking from the many demonstrations. It was fascinating watching artisans transform solid minerals into a glowing liquid and then cool them back into entirely different forms. One could only conclude that magic, at least in a sense, was indeed real as dragons, unicorns, flowers, and delicate ornaments emerged from what had once been little more than sand.
Glassmaking is a tradition thousands of years old, originating somewhere in the ancient world, perhaps Syria, perhaps Egypt. However it began, one cannot help but marvel at the discovery. Imagine being the first person to witness the transformation. One day you are standing before a furnace filled with sand and stone. The next, a strange translucent substance emerges from the flames. It is easy to understand why ancient peoples often blurred the line between craftsmanship and magic.
It was this appreciation for its rich history and fascination with magic that seemed just out of reach that piqued my curiosity to seek out a glassblowing class during the midst of COVID restrictions. Yes, flights may have been canceled, cruise ships docked, some states open, others shuttered. Travel seemed impossible, and any chance at adventure seemed out of reach. However, for someone who knows that adventure can be just outside the door, it seemed like the perfect time to explore opportunities closer to home.
Besides, what better activity could there be in a pandemic than one that involves blowing into glass that’s thousands of degrees while the vents continually suck out the air, ensuring one is only breathing fresh air? Any germs you may have will certainly perish in the flames of oblivion. Forgive the dramatic flair, but this is my blog, and I can be dramatic if I desire.
I set out in the beginning of July, just when the first COVID restrictions were being lifted in my home state of Pennsylvania. We reached out to a local craftsman who offered classes and booked a session for two to make glass ornaments. We met with a very friendly teacher, Michael, who first assured us of the safety of the activity before launching into some of the science and history of glassmaking.
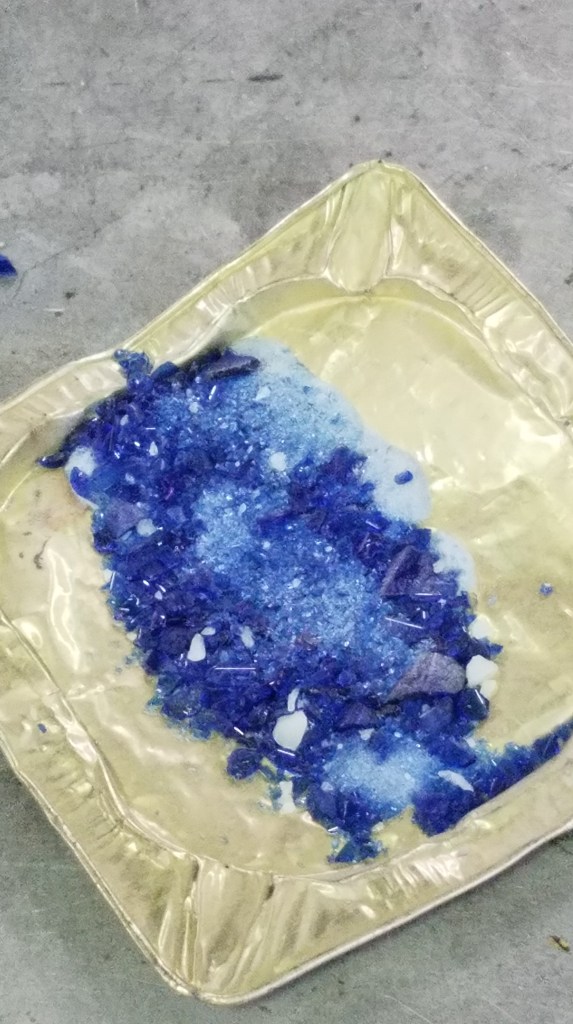
Even though it was mostly review for the two of us, we still listened with rapt attention, barely containing our excitement. He explained how we were going to add color to our glass and gave us an overview of the technique: how to blow and turn to keep the glass even, and how quickly the glass cooled despite the heat, making it a little tricky to manipulate. Then we were able to start.
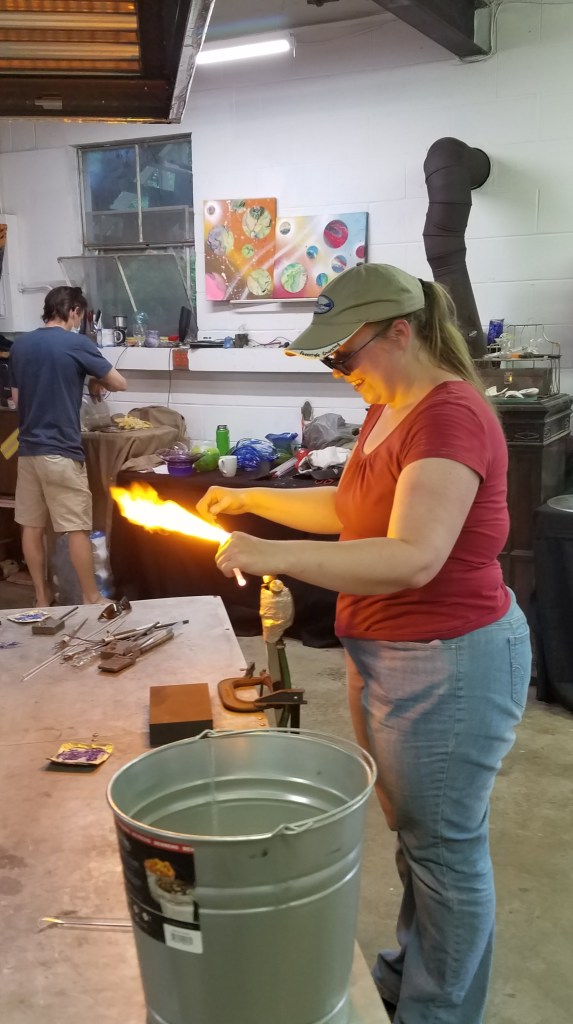
The workshop itself sat open to the warm Pennsylvania summer. One entire wall functioned as a garage door and had been rolled up to welcome the evening air. Beyond it stretched fields and trees glowing beneath the golden light of late afternoon. It was a surprisingly peaceful setting for an activity centered around furnaces hot enough to soften stone.
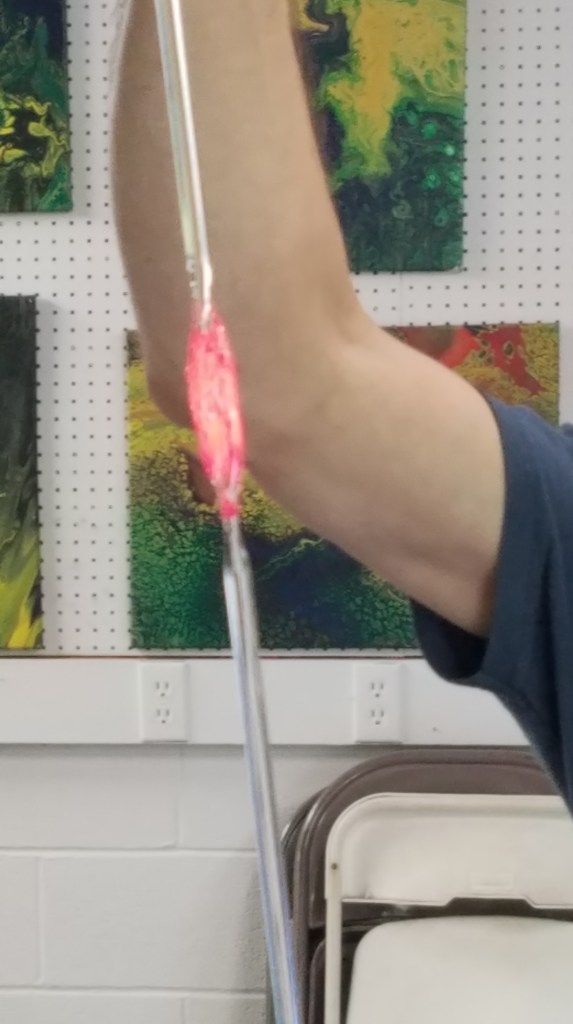
Inside, the studio pulsed with heat and orange light. Glass gathered from the furnace emerged glowing yellow-white before fading through shades of orange, amber, and red as it cooled. Every few moments Michael would send us back to the furnace to reheat our work before the glass stiffened once again.
It was both easier and harder than I anticipated. The glass came to temperature and cooled more rapidly than I thought it would despite his warnings. I had fun experimenting with twisting it and manipulating it into various shapes, not much minding whether it turned out to be a piece of art or not. After all, the idea was simply to experience the process, not necessarily to create something worthy of display.
Although, I must say, for a first attempt, I did quite well.
As the lesson progressed, I became so focused on the task that I barely noticed the passage of time. My attention narrowed to the rhythm of turning the blowpipe, reheating the glass, and carefully shaping it before it cooled. Only occasionally would I glance up and realize the world outside had changed.
The bright summer afternoon had softened into twilight. Long shadows stretched across the fields beyond the open doorway, and the golden light that had greeted us slowly gave way to the blues and purples of evening. Somewhere between the furnace and the workbench, hours had slipped away unnoticed.
How can you create your own magic?
If reading this has awakened a bit of curiosity, you may be surprised to learn that glassblowing classes are more accessible than you might think. A quick search for “glassblowing classes near me,” “glass art studios,” or “glass workshops” will often reveal local artisans offering beginner-friendly lessons. Community art centers, craft schools, and independent studios frequently host one-time classes where no prior experience is required.
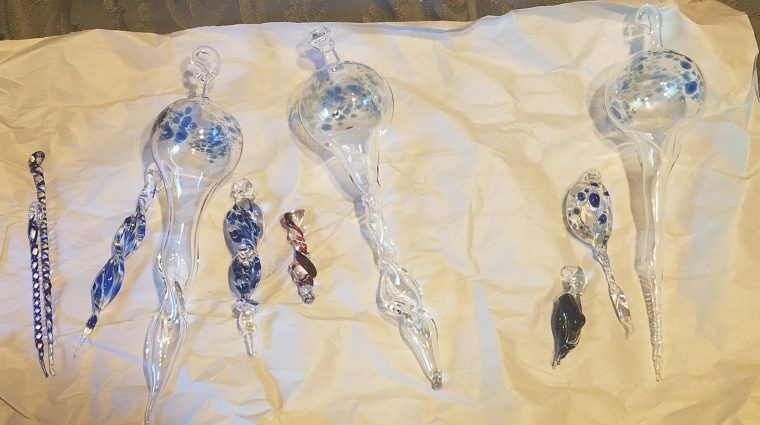
Perhaps you will make an ornament, a paperweight, or a vase. Perhaps your creation will emerge a little lopsided, much like mine. That hardly matters. The real magic lies in stepping through the studio door, feeling the heat of the furnace, and experiencing an ancient craft with your own hands. You never know what wonders may be hiding just around the corner of your hometown, waiting to transform an ordinary afternoon into an adventure.
Completed: 2020
Cost: $95
Miles from home: 30 miles
Want to discover more adventures? Check out my whole Bucket List and Reverse Bucket List